After making a slew of Grainline Archer shirts last year, I started branching out into other button up shirt patterns. I wanted to try the Olya shirt by Paper Theory for two reasons. First, it has a reputation for being a unique, well-loved, and well-drafted pattern. And second, its status as a right of passage for many intermediate sewists intrigued me. I was up for the challenge.
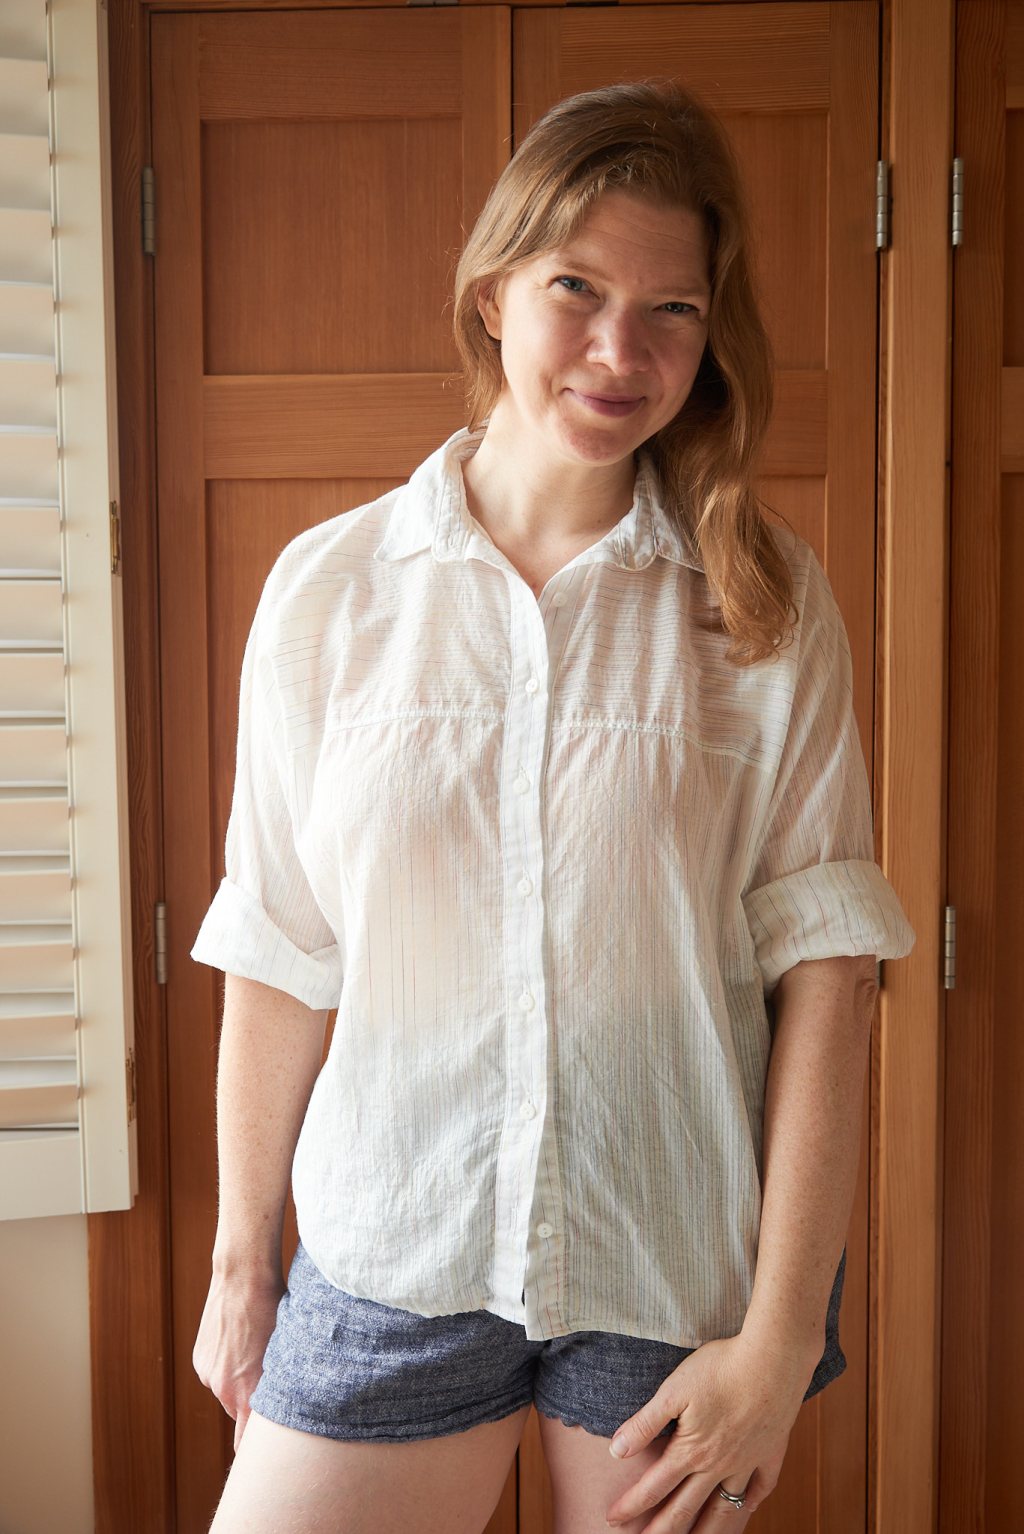
Sizing down 2 sizes still leaves me with plenty of ease.
Due to the generous amount of ease, I sized down two sizes to a 12. My measurements put me squarely at a size 16, but that would give me 11″ of ease in the bust and 8.5″ of ease through the hip. The size 12 gives me about 7″ of bust ease and about 5″ hip ease, which is still roomy. I also double checked the size 12 neck circumference of the collar stand to make sure the neck wouldn’t be too small for me. Luckily I didn’t need to make any adjustments to the neck, and since I had plenty of ease, I chose not to make any other fit adjustments to the pattern before cutting it.

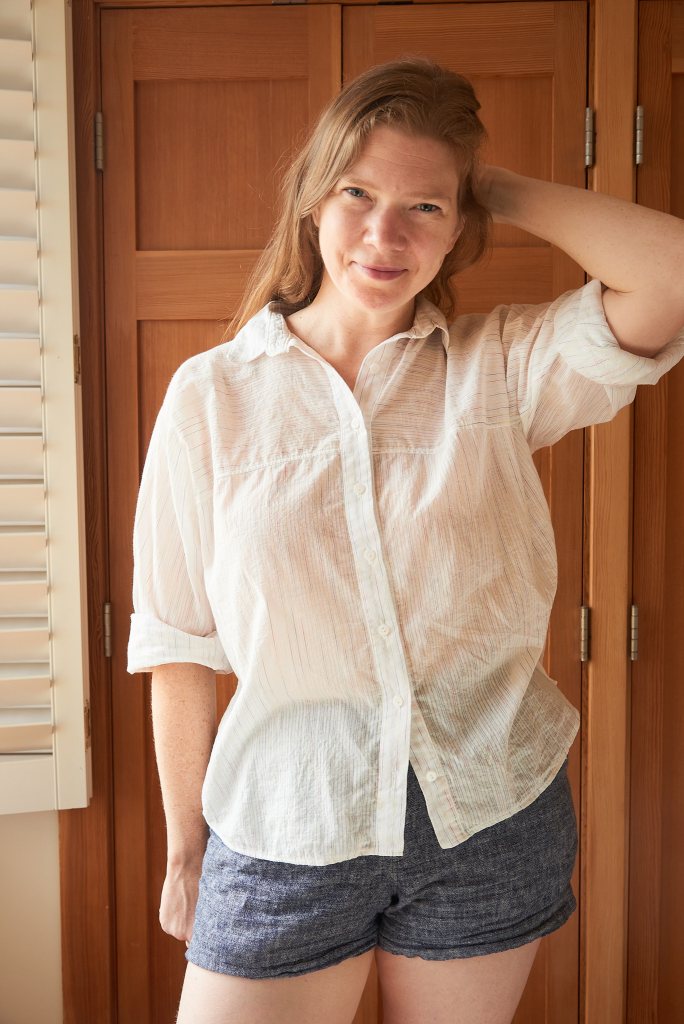
This gauzy cotton voile is perfect for summer.
I picked a crinkled, cotton voile that is light and airy with great drape. If you are like me and on the fence about the oversized button up shirt look, try a lightweight cotton voile or silk to soften the silhouette. This version turned out to be the perfect summer cover up, and there’s a subtle rainbow stripe running through this fabric that makes me smile every time I see it.

Subtle rainbow stripes and my favorite label.
For the construction, I omitted the front pockets because I wanted a sleeker front and less emphasis on the boxy shape. I read that even Tara (the designer) herself recommended omitting them, although I never found an original citation for this. Removing the pockets also saved me a few steps, and as a result, this pattern sewed up even faster than a traditional button up because I didn’t have to ease in two sleeves.
Constructing Olya’s distinctive yoke is what most people seem to fret about. I referenced two posts from Mie of @sewinglikemad (here and here), and concluded that attaching the yoke to the body was not much different than sewing a bound button placket, which I had done before for the Archer. Grainline Studio has a great tutorial on how to do that here, and much of the advice shared in this video applies to the Olya. If you’ve never done something like this before, my advice is to try a few practice runs and take it slow.

Olya’s distinctive yoke.
Technically, I might need a forward shoulder adjustment for this pattern, since the top seam of the yoke is hitting me behind the highest point on my shoulder. But based on the model photos from the Paper Theory website, this is the intended fit so I’m not going to alter the pattern to correct it.
My favorite bits of the Olya are the collar/collar stand and the tower placket. Both are beautifully drafted and may be my favorite versions of each that I’ve encountered so far. I also really like the tower placket instructions; Tara’s was a new method for me and it might be one of the most intuitive.
Note that the seam allowances on the Olya are 1 cm, or about 3/8″, so narrower than is typical for a woven pattern. To finish the seams, you can either zig zag the edges if you don’t have an overlocker or you can serge them if you do. I don’t see an easier way to finish the seams on the yoke piece. So fair warning to anyone who prefers a more “classic” seam finish like a flat felled or French seam, you’ll have to increase the seam allowance if you want to use a different seam finish. I topstitched all of my serged seams (including around the yoke) to keep the seam allowances secure, which worked beautifully.

If you haven’t tried the Olya shirt yet, I highly recommend it! It’s a great way to level up your sewing or to just try a different twist on a classic garment.

Leave a comment